The Art of Crafting the Perfect Cheese Board: A Step-by-Step Guide
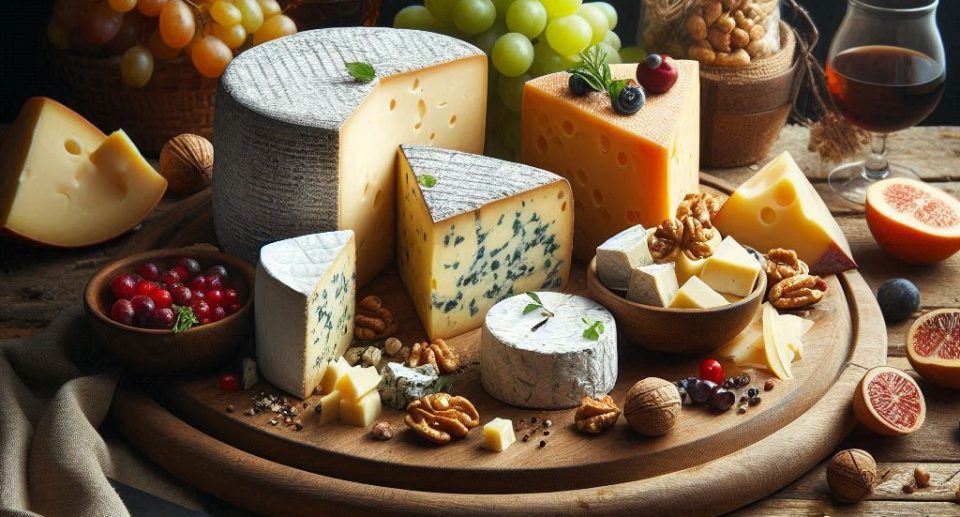
The Art of Crafting the Perfect Cheese Board: A Step-by-Step Guide
There’s a reason why cheese boards are a staple at parties, gatherings, and even cozy nights in. They’re visually appealing, bursting with flavor, and offer something for everyone. But crafting the perfect cheese board is an art form in itself. Fear not, fellow cheese enthusiasts! This step-by-step guide will equip you with the knowledge to create a cheese board that will impress your guests and tantalize your taste buds.
1. Choose Your Cheeses Wisely
Variety is key! Aim for a selection of 3-5 cheeses with different textures and flavors:
- Hard Cheese: Cheddar, Gruyere, Parmesan
- Semi-Hard Cheese: Manchego, Gouda, Provolone
- Soft Cheese: Brie, Camembert, Goat Cheese
- Blue Cheese: Roquefort, Gorgonzola, Stilton
2. Accompaniments are Your Best Friend
Think beyond crackers! Elevate your cheese board with these delectable pairings:
- Fruits: Grapes, apples, pears, figs, berries
- Meats: Prosciutto, salami, chorizo
- Olives & Pickles: Green olives, kalamata olives, cornichons
- Bread & Crackers: Baguette slices, water crackers, multigrain crackers
- Spreads: Fig jam, honey, mustard
3. Presentation is Everything
Arrange your cheese board like an artist’s palette. Cut cheeses in different shapes, create small clusters of accompaniments, and don’t be afraid to leave some breathing room.
4. Serve at the Right Temperature
Take your cheeses out of the refrigerator at least 30 minutes before serving to allow their flavors to fully develop.
5. Enjoy the Cheese-tastic Experience!
Gather your friends and family, pour some wine, and indulge in the symphony of flavors that is the perfect cheese board.

